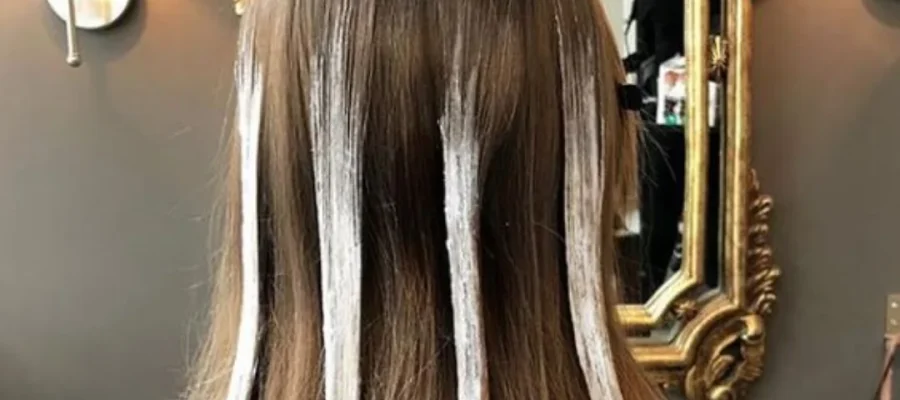
Can You Do Ombre At Home?
Yes, you can do ombre at home if you’re patient, follow product instructions, and work in small, controlled sections. The key is a soft blend (not harsh lines), careful timing, and strong aftercare. If your hair is already damaged, heavily dyed, or very dark, a stylist is usually the safer option.
What Is Ombre Hair?
“Ombre” comes from the French word for “shadow.” In hair color, it means a gradual shift from darker roots to lighter ends. The result looks like a natural fade, with depth at the top and brightness through the lengths.
Ombre is popular because it’s flattering and forgiving. Since your roots stay darker, regrowth is less obvious than full-head color, which makes it lower maintenance for many people.
Can You Really Do Ombre Yourself?
Yes — and plenty of people do. The main challenge isn’t applying product; it’s creating a smooth transition so it doesn’t look like a straight “stripe” across the hair.
If you’re new to lightening, start with subtle results. You can always go lighter in a second session, but you can’t undo over-processed ends.
Materials Needed For Doing Ombre At Home
Using the right tools makes a noticeable difference in both results and hair condition.
Here’s what you’ll want on hand:
- Lightener (bleach powder + developer)
Used to lift color on the ends. Choose reputable products and follow the mixing ratios exactly. - Tint bowl and color brush
A brush helps you “feather” the product upward for a softer gradient. - Gloves
Protects your skin from irritation. - Foil or coloring paper (optional)
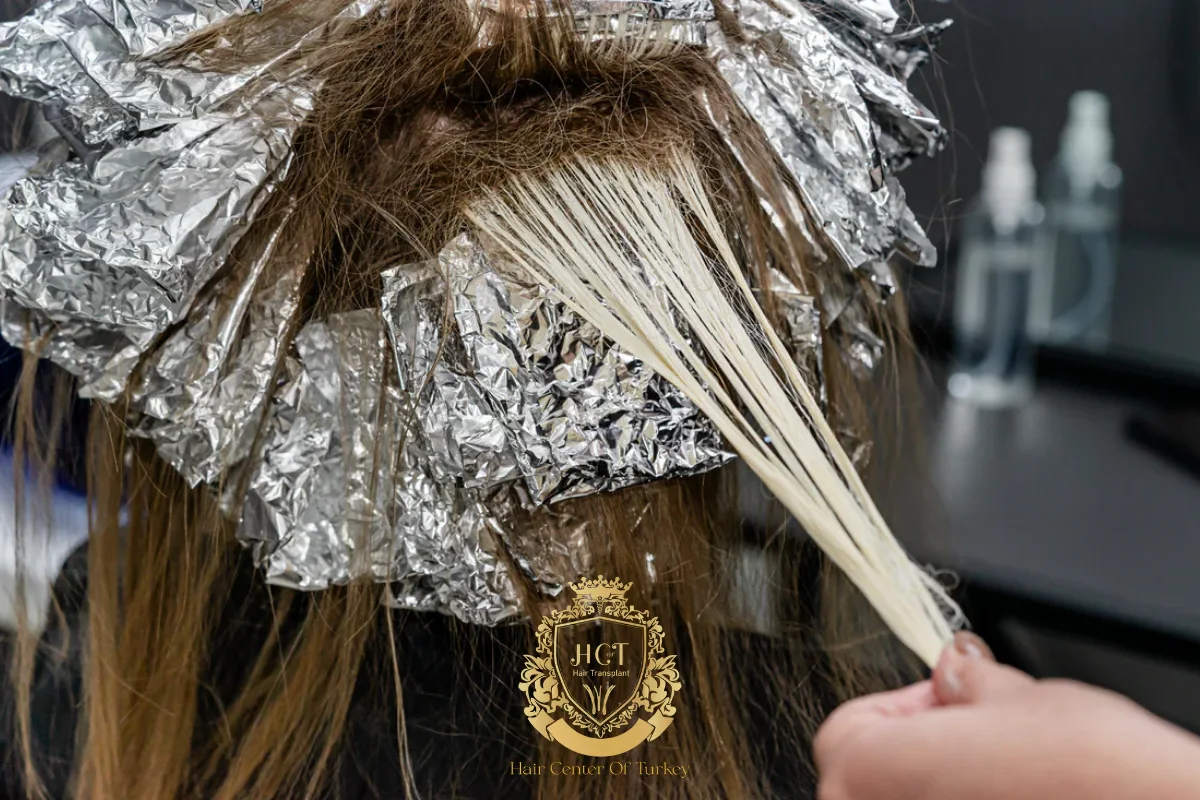
Helps with lift and keeps sections separated. Many people skip foil for a more lived-in blend. - Comb and sectioning clips
Clean partings make the application far easier and more even. - Old towel and cape/shirt you don’t mind staining
Lightener can bleach fabric quickly. - Moisturizing mask or hair oil
Plan for aftercare right away, especially if you’re lightening dark hair.
How To Do Ombre At Home
If you want the most natural ombre, think “lightest at the ends, softer as it moves up.” Work slowly and check your progress often.
Prepare Your Hair
Start with dry hair. Many people prefer not washing for 24–48 hours, since natural oils can help reduce scalp sensitivity.
Detangle thoroughly before you begin. Knots lead to uneven application and patchy lightening.
Section Your Hair
Divide your hair into 4–6 sections and clip them up. Smaller sections give you more control, especially if your hair is thick.
Keep a mirror behind you if you’re working on the back. Better visibility prevents missed spots.
Mix The Lightener
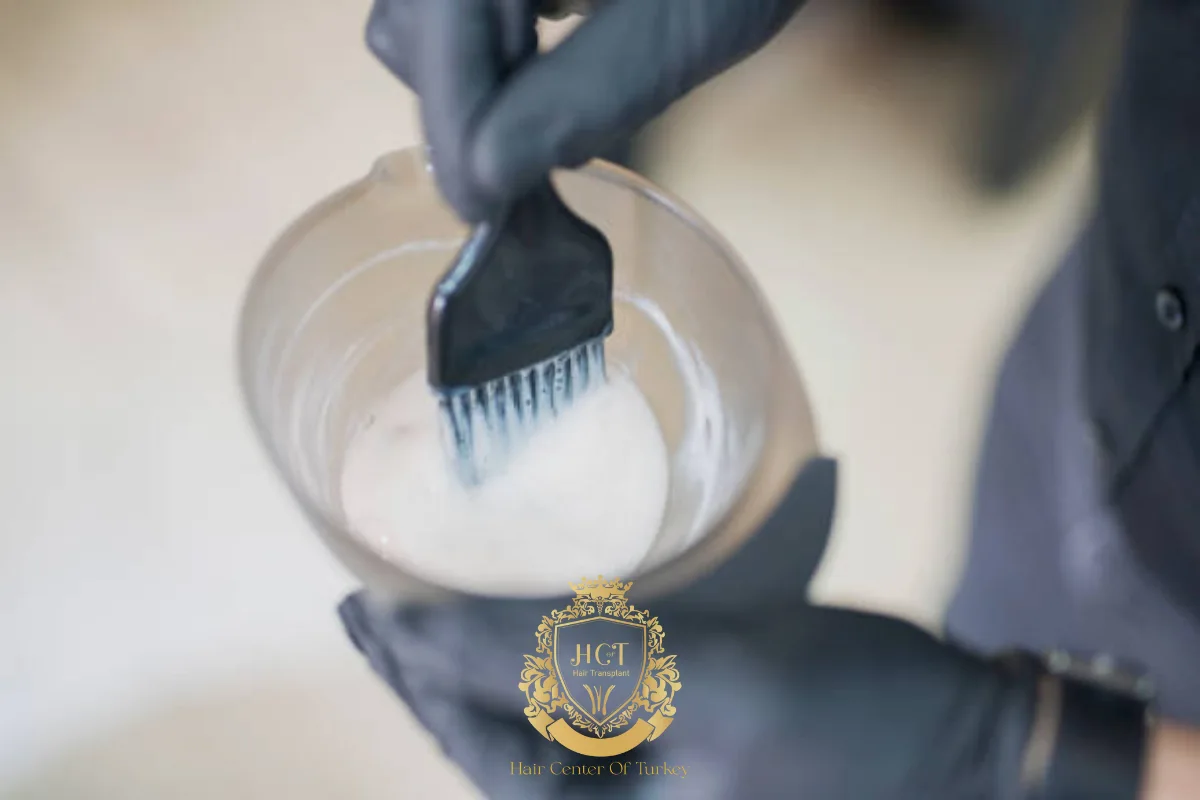
Mix the bleach and developer exactly as the product directions recommend. You want a creamy consistency that stays where you place it, not something runny.
Only mix what you’ll use right away. Once activated, lightener loses strength over time.
Apply The Lightener (Ends First)
Start at the ends and work upward. Focus on saturating the tips, then use less product as you move higher.
For a softer fade, use your brush to “feather” the edge where the lightener stops. That small blending step is what keeps it from looking like a harsh line.
Watch The Processing Time
Timing depends on your natural color, previous dye, and your target shade. A common range is 20–40 minutes, but always follow the product’s maximum time.
Check every 5–10 minutes. When your ends reach the level you want, rinse immediately.
Rinse And Deep Condition
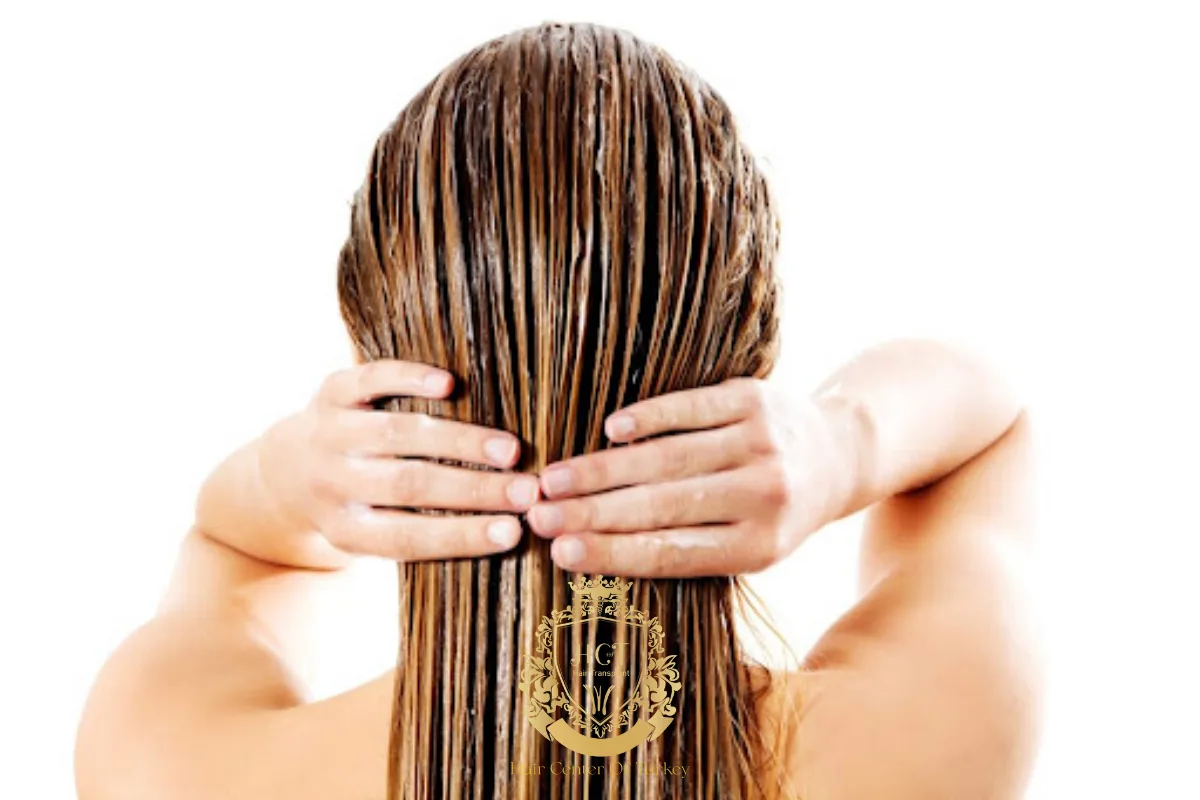
Rinse thoroughly with lukewarm water, then shampoo as directed. Finish with a nourishing mask and leave it on for the full recommended time.
If your hair feels dry afterward, that’s normal. Your next few washes should focus on moisture and gentle handling.
Things To Keep In Mind When Doing Ombre At Home
If you want a clean, salon-like blend, these details matter more than most people expect.
- Do a patch test and strand test.
A strand test shows how quickly your hair lifts and what tone it turns. - Previously colored hair lifts differently.
Old dye can turn warm, brassy, or uneven, especially on the mid-lengths. - Don’t chase platinum in one day.
Multiple gentle sessions are safer than one aggressive round. - Toning may be needed.
If your ends pull yellow or orange, a toner (or purple/blue toning products) can refine the shade.
Common Mistakes When Doing Ombre At Home
Here are the issues that most often ruin DIY ombre results:
- Applying bleach too high or too evenly
Ombre needs a gradient, not a solid block of lightness. - Putting lightener on wet hair
Wet hair can process unpredictably and may weaken faster. - Leaving bleach on “just a little longer”
Over-processing can cause breakage and a rough, stretchy texture. - Skipping aftercare
Lightened ends need moisture, protein balance, and heat protection. - Ignoring undertones
Dark hair often lifts warm, so plan for toning if you want cooler results.
Ombre At Home Or At The Salon?
Choosing between DIY and a stylist comes down to risk tolerance, starting hair condition, and how precise you want the blend.
Advantages Of Doing Ombre At Home
- More affordable than salon services
- Full control over timing and placement
- Easy to do on your own schedule
Disadvantages Of Doing Ombre At Home
- Harder to blend evenly, especially in the back
- Greater chance of dryness or breakage if timing goes wrong
- Previous color can make results unpredictable
Advantages Of Doing Ombre At A Salon
- Smoother transitions and more customized placement
- Professional-grade products and bond support options
- Better problem-solving for dark hair, box dye, or color correction
If your hair is already fragile, very dark, or heavily dyed, a stylist is usually the safer move. If your hair is healthy and you’re going for a subtle lift, DIY can work well with careful application.
FAQs About Doing Ombre At Home
Will Ombre Ruin My Hair?
It doesn’t have to, but lightener is always a stressor. Keeping to correct mixing ratios, staying within processing time, and following with strong aftercare reduces damage. If your hair is already weak or breaking, skip DIY lightening.
Is Ombre At Home Beginner-Friendly?
It can be, especially if you keep it subtle and don’t try to go extremely light. If you’re nervous about blending or timing, a salon visit is the safer option.
Can You Do Ombre Without Bleach?
If your hair is already light, you may be able to create a soft ombre using permanent color or high-lift color. On medium-to-dark hair, bleach is usually needed to get noticeable lightness.
How Do I Maintain Ombre Hair?
Use color-safe shampoo, apply a moisturizing mask weekly, and protect your ends from heat. A lightweight oil (like argan oil) helps keep the lightened sections smooth and shiny.
What’s The Difference Between Ombre And Balayage?
Ombre is a gradual fade from dark to light, usually lighter toward the ends. Balayage is hand-painted highlights placed throughout the hair for a more scattered, sun-kissed effect.

